
How to Lay a Natural Stone Patio on a Sand and Cement Base
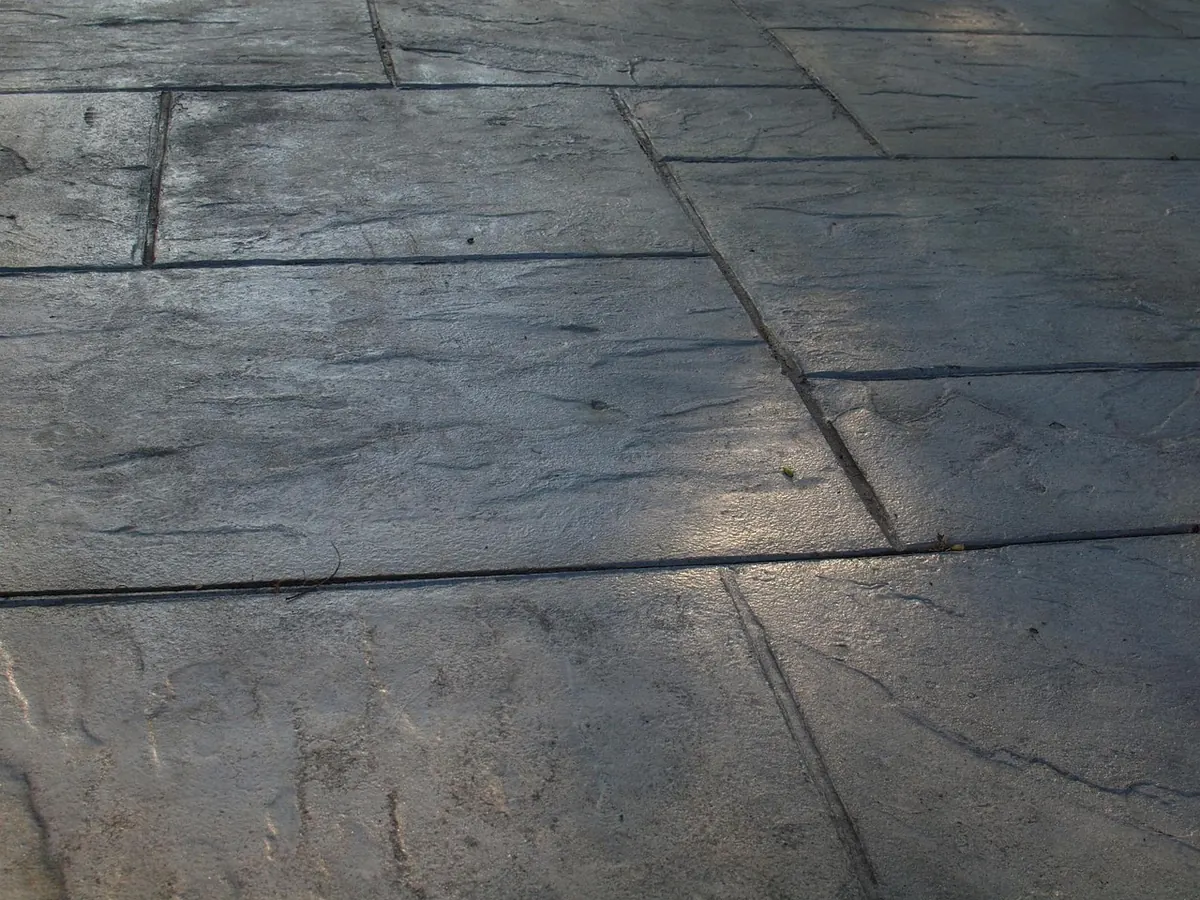
A patio sits on whatever you put beneath it. Get the digging and the sub-base right and a sand and cement bed will hold stone slabs flat and firm for decades. Rush those early stages and the finest paving in the yard will rock, drop and lift within a season. What follows is the method used on most domestic patios in the UK: a compacted sub-base, a semi-dry mortar bed and a properly struck joint. It is heavy work, but none of it is complicated. Allow a weekend for a small terrace and considerably longer for anything larger.
Before you break ground
Sort your materials and tools first. Nothing kills momentum like a mid-afternoon run for another bag of cement, and a half-dug hole is not the place to discover you have no compactor.
- MOT Type 1 sub-base, plus sharp sand and cement for the bed
- Building sand and cement for the pointing, or a proprietary pointing mortar
- A plate compactor — hire one, do not improvise with a tamper on anything more than a few square metres
- A 1.2m spirit level, string line, pegs, and a wooden or rubber mallet
- Pointing iron or jointing tool, pointing trowel, buckets, hose, soft brush
- Angle grinder with a diamond blade, bolster, lump hammer and safety glasses
Check for buried services before you put a spade in the ground — water, gas, electricity and drainage all run in places you would not expect. If you are unsure, consult the utility plans for your property or take advice before digging. Also confirm where the damp proof course sits on the house wall; a patio should normally finish at least 150mm below it, so that rain splash never reaches the brickwork.
Setting out and excavating
Set out the shape with pegs and string, then establish your levels. A patio needs a fall to shed water: something in the region of 1 in 60 to 1 in 80, running away from the house and towards a drain, soakaway or the garden. Too little and puddles form; too much and the table wobbles.
Work out your dig depth by adding up the layers: slab thickness, plus around 30–40mm for the mortar bed, plus 100mm or so of compacted sub-base. For a typical 25mm slab that means digging roughly 165mm below finished level. Strip the topsoil and keep it — you will want it for the borders. Dig to a consistent depth, but do not over-dig and loosen the subsoil underneath, which will only have to be re-compacted.
Building the sub-base
This is the part everyone wants to skip. Do not. Tip your Type 1 in and spread it in layers of no more than 75–100mm, compacting each one thoroughly before adding the next. Two or three passes with the plate compactor, working in overlapping strips, is about right. Pay particular attention to edges and corners, which are the first places to settle.
Keep checking against your string lines as you go, and finish the sub-base flat, firm and free of soft spots. A straight edge dragged across the surface should sit true, with no hint of movement underfoot. Once it is right, resist the temptation to walk about on it more than necessary.
Mixing and laying the mortar bed
Use a mix of roughly four or five parts sharp sand to one part cement, with just enough water to bring it together. It should be damp rather than wet — squeeze a handful and it should hold its shape without dripping. Slop is the enemy here: a wet mix squashes unevenly under the slab and can shrink as it cures.
Spread the mortar in strips about 30–40mm deep, only as far ahead as you can lay slabs within a reasonable working time. A common mistake is bedding half the patio and then watching it go off while you cut a single awkward slab. Work in small, tidy bays instead. On dense or smooth-backed stone, a brush of cement slurry or a bonding primer on the underside of the slab gives a much more reliable grip.
Laying the slabs
Start from a corner, or from the straightest edge you have, and work outwards. Set the slab onto the bed, then tap it down with a mallet over a length of timber rather than striking the stone directly. Check with the spirit level in both directions, and sight along the string line to keep the coursing straight. If a slab sits proud, lift it and take a little mortar out; if it is low, add a touch more.
Getting the joints even
Aim for consistent joints, typically 8–12mm for most natural stone. Offcuts of timber or plastic spacers make this easy and can be pulled out as you go. Rake out any mortar that squeezes up between the slabs before it hardens, but leave the joints deep enough for the pointing later.
Cutting and finishing edges
Cut slabs with an angle grinder and diamond blade, using water to keep the dust down and wearing eye and ear protection. Make the cut from the face side, and take your time. Keep a kneeling board handy so your weight is spread across laid slabs rather than a single point.
Pointing the joints
Leave the bedding to firm up before pointing — usually the following day in mild weather. Mix a pointing mortar of about three or four parts sharp sand to one part cement, or use a proprietary jointing mortar matched to the stone. Wet the joints first, then work the mortar in firmly with a pointing iron, filling in two passes and compacting as you go.
Strike the joint with a jointer to a slightly recessed profile, which sheds water far better than a flush or hollow joint. Clean the face of the slabs as you work, using a soft brush and clean water — dried mortar smears on porous stone are a misery to remove.
Point on a mild, still day. Direct sun dries joints too quickly and frost will destroy them overnight.
Aftercare and the first few weeks
Keep off the patio for at least 24 to 48 hours, and avoid heavy loads for several days while the mortar cures. Once everything is thoroughly dry, brush the surface clean and consider a breathable sealant for porous stone — it will not stop every stain, but it buys you time to wipe up oil and red wine.
Expect a little moss in shaded, damp joints over time, and deal with it before it takes hold. If your ground is heavy clay, the water table is high, or the patio will take vehicle traffic, the design changes: you may need a deeper sub-base, a concrete base, or proper drainage advice. For anything structural, or where drainage and soakaways are involved, it is worth speaking to a qualified professional before you start digging.